 4/13/11 --
The first two photos are of the second side (the inside) taped. One shot with wax paper in place, the second with wax paper removed.
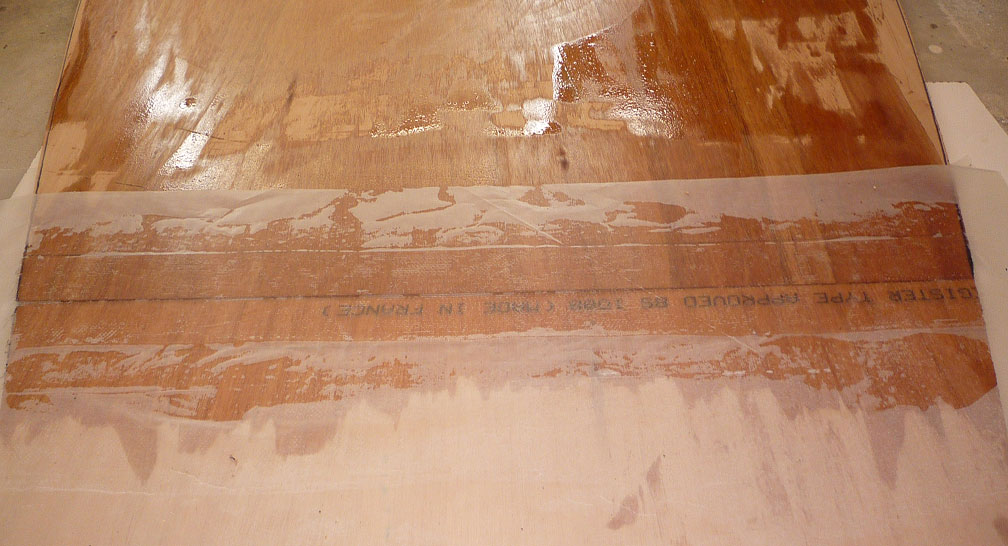
(Click for larger image.)
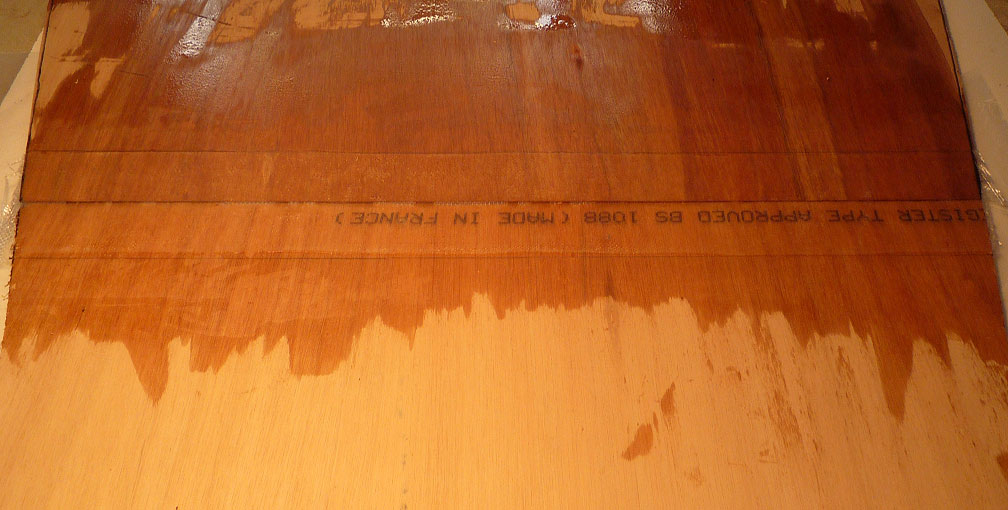
(Click for larger image.)
I put the bottom in place and checked all tacks and registration marks, etc. But it seems I did not check camera focus setting, so ended up with this poor photo:
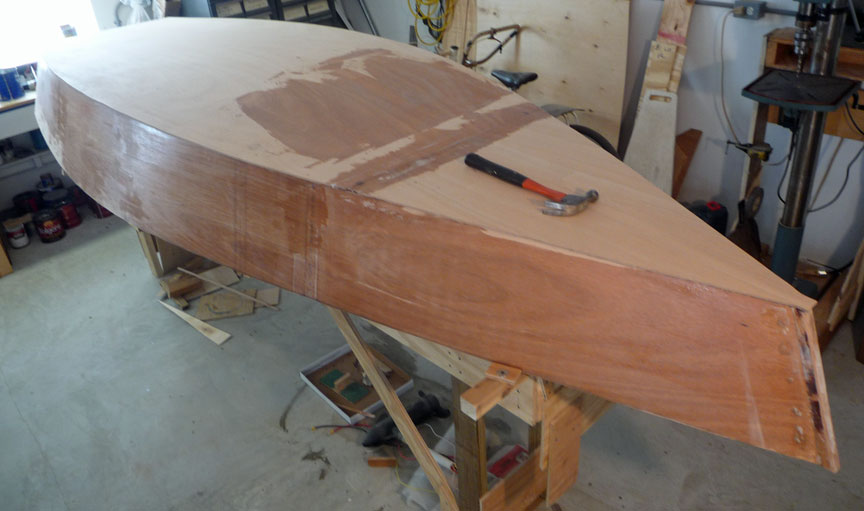
(Click for larger image.)
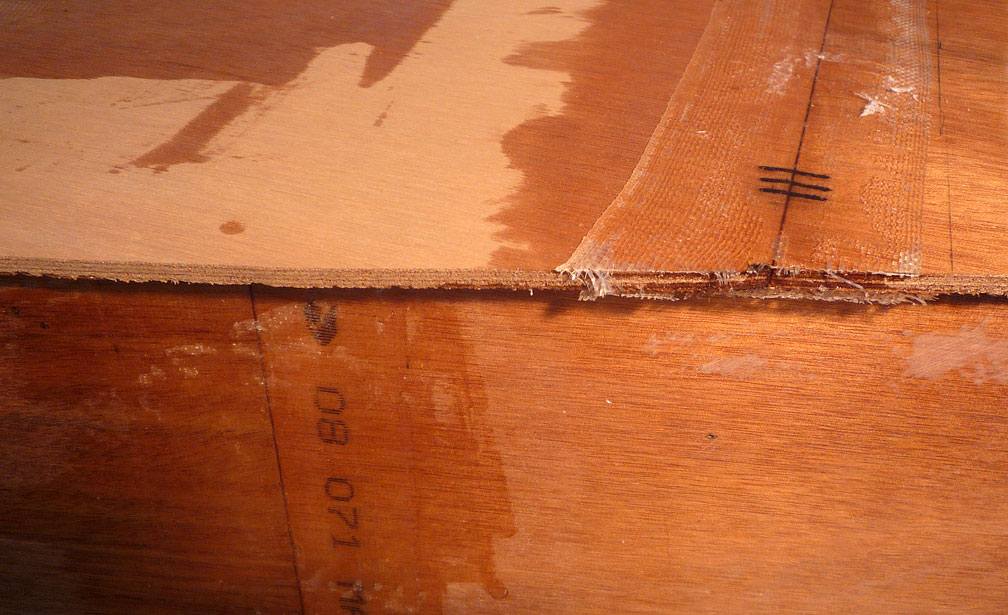
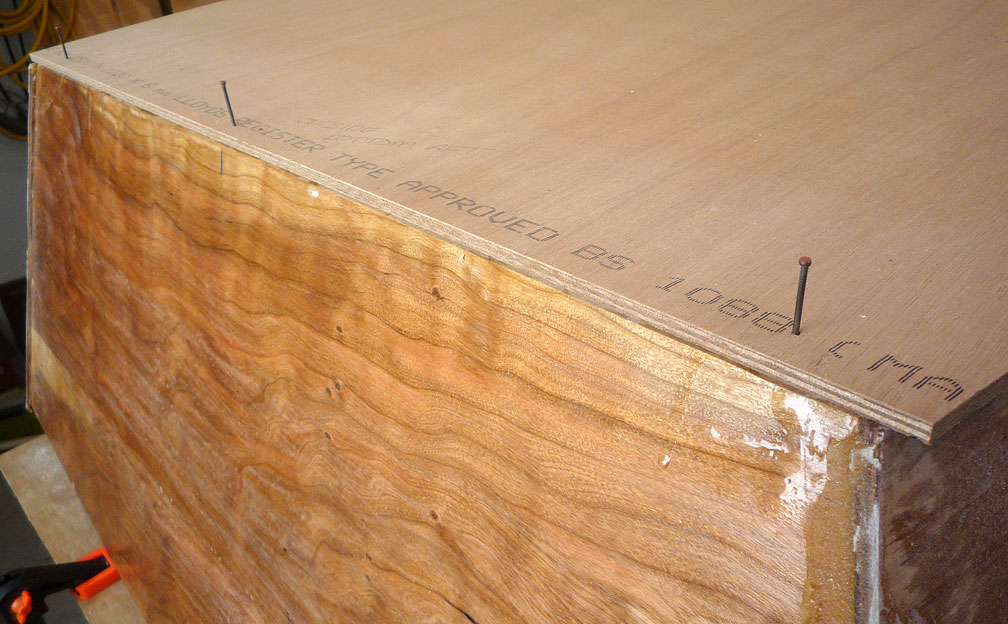
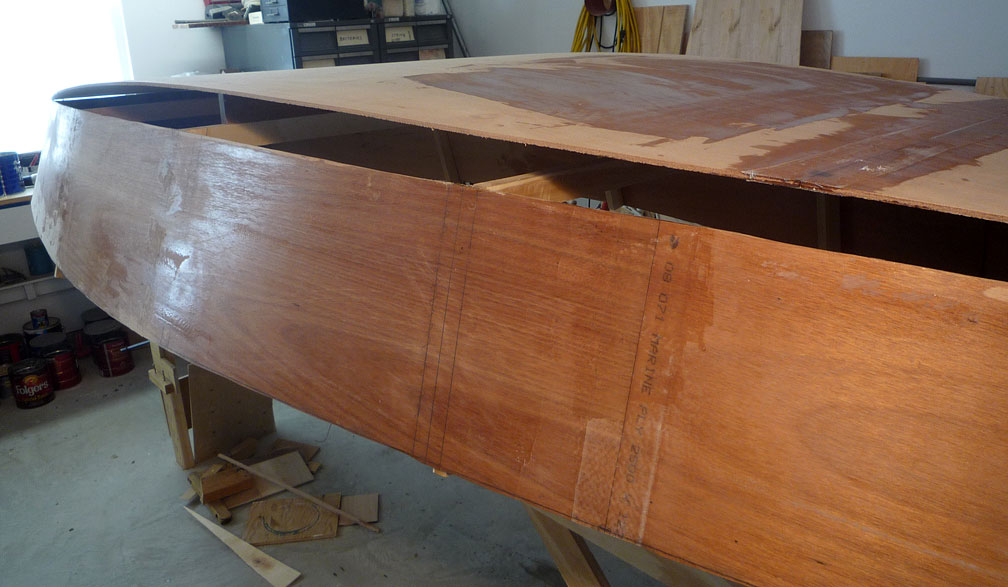
The next four photos show a few of the taped joints, how the bottom panel meets the transom, and the way the panel was held off the bottom as thickened epoxy was applied to the transom and most-aft rib.
I left weights on the bottom, over the two joints described and left for the day.
(Click for larger image.)

(Click for larger image.)
(Click for larger image.)
(Click for larger image.)
Here are two "BONUS" images:
I think I've found most of my screwdrivers.
There was bit of epoxy left over.
|