A squirrel-proof bird feeder
designed and built by Grant MacLaren
Final design at bottom of this page.
The idea for this design came from this website describing how another fellow built a squirrel-proof bird feeder using PVC pipe as the primary material.
Although I used his basic idea of flexible perches and smooth surfaces, my design is a bit different than his. I'll describe how I made mine, and will include subsequent improvements I've made to my first prototype. Hopefully my description and photos will make it easy for you to make and enjoy a
squirrel-proof feeder of your own.
The primary vertical tube (the seed bin) is 4 inch Schedule 40 PVC pipe, 14 inches in length.
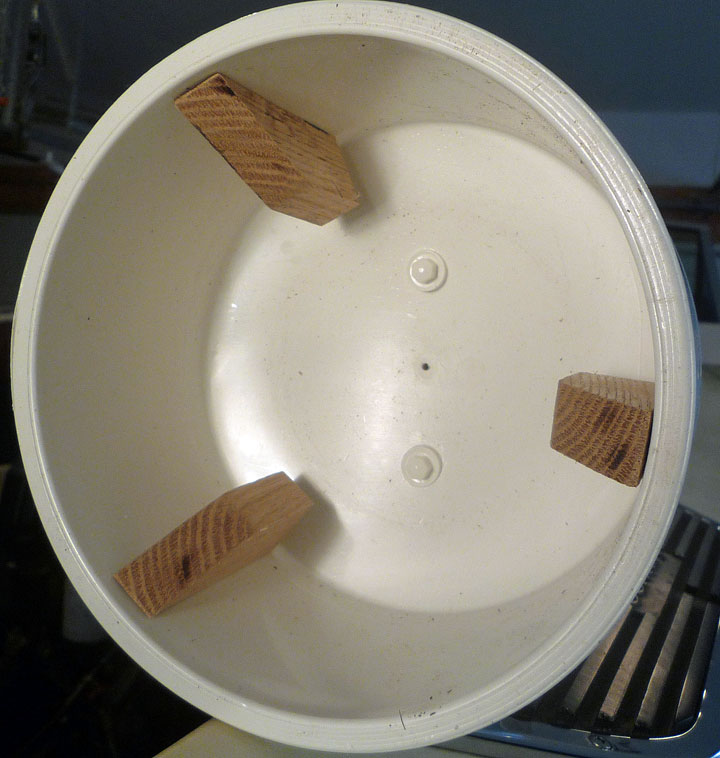
The "Roof" is an end cap for 6 inch Schedule 40 PVC pipe. A 3/32 inch diametr hole is drilled in the cap's center, just large enough to accept a piece of clothes hanger wire that is used to hang the finished feeder. There are three "spacer blocks" inside the end cap, which serve to keep the "roof" centered on the seed bin. The blocks are about 1/2 inch wide and about 3 inches tall. They are tapered from almost zero at their bottoms to a 3/4 inch "flat" at their upper ends. At their "thickest," they are about 7/8 inch "deep" at their tops. One one-inch flat-head screw holds each block in place.
Here is the inside of the roof, with the three spacer blocks installed:
The floor of the seed bin is 3/4 inch plywood, cut to fit snugly into the 4 inch PVC pipe. (It could be "1 by" or "2 by" wood.) A snug fit is important, because bird feed seeds can be small and could become wedged around the floor's perimeter, or worse, "fall through the cracks." (Because the interior of PVC pipe is not perfectly round, the wood "floor" must be shaped and cut to fit snugly into the pipe. i.e., trace the interior of the pipe onto the wood, then cut to the traced line. Be sure to use "tick" marks on the wood and pipe to keep the two oriented to each other.)
The floor is fastened to the seed bin with three flat-head wood screws, countersunk to be flush with the tube's outer surface, and spaced equidistant around the tubes perimeter. (An easy way to space the three screws is to roll the tube along a flat surface, marking the surface when a "tick mark" leaves, and then meets the surface. Measure the distance between marks, then divide by three, giving you the distance between screws.)
Locate the floor about one inch into the bottom of the pipe. This will 1) provide a "drip edge," keeping the wood floor dry, and 2) provide a mounting surface for the flexible perches to be installed later.
Drill a 3/32 inch hole in the center of the wood floor, large enough to accept the coat hanger wire. (Later we'll put the wire through this hole and bend (what I'll call) a "stopper knot" to support the hanging feeder.)
Now make and install three baffles, or "feeding stations," one located above each of the three flat-headed screws. The size and shape of these tubes are important, and although the ones pictured work O.K., I'm experimenting with another design. (Stay tuned.) I've used one-inch couplings, with sections cut out of their walls, permitting the couplings to be "squeezed" with pliers and forced into holes drilled with a hole saw. I aslo cut away much of their walls from the portion protruding into the seed bin. The couplings are oriented so their "cut away" portions face down, inside the seed bin.
The revised baffles, or "feeding stations" will be longer (longer than couplings) and smaller in diameter -- maybe 3/4 inch pipe. They might be glued into holes drilled with a spade bit and will not protrude as far outside the seed bin as do the couplings pictured.
The perches are flexible, providing plenty of support for the weight of visiting birds, but not for squirrels ("tree rats" as some would call them.) Made of plastic "cable ties" or "tie wraps," they are secured to the bottom of the wood floor with "pan head" screws as pictured:
(CLICK for larger image)
The perches protrude through holes in the seed bin's wall, drilled below and tangent to the bottom of the wood floor. They can be trimmed so only about 2 inches protrude, but you might want to try 3 inches or a bit longer and observe how much they are deflected by your visitors before you trim.
Clean the markings off the PVC. I use MEK, but other solvents will work. Maybe you'd like to paint your feeder. We like the white.
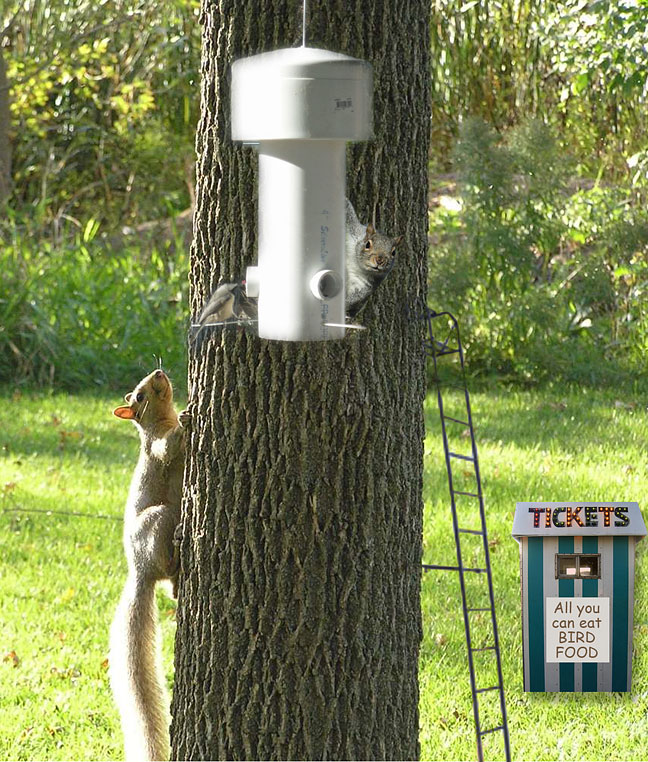
The claim is "squirrel-proof." It was NOT represented as "Yvonne Proof."
She emailed, "I hear they are selling tickets all over the forest," and sent along proof:
(CLICK for larger image)
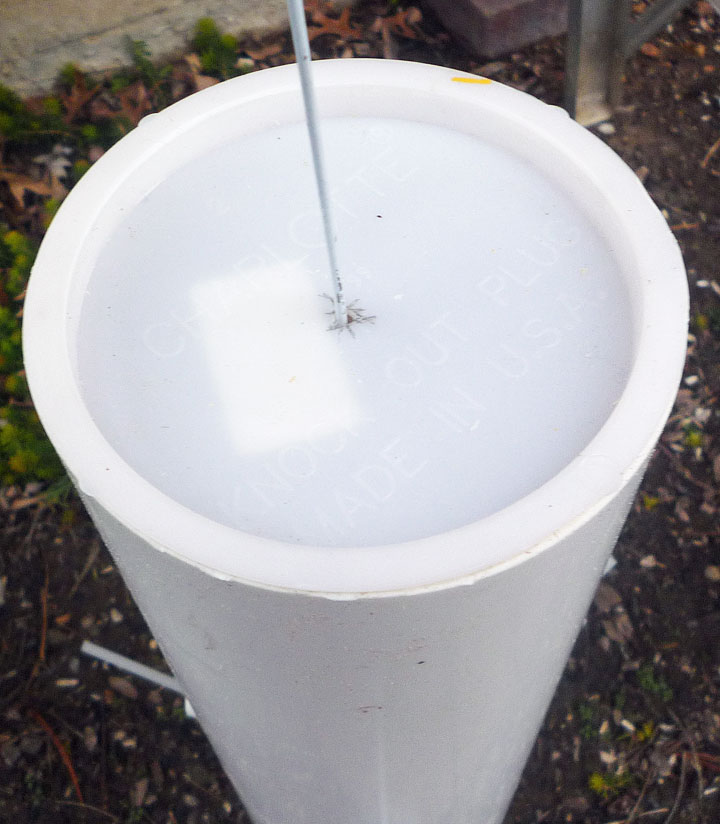
Top Secret:
(CLICK for larger image)
This (top secret) cap kept the wire centered on Prototype #1.
But it made refilling the feeder almost impossible, at least for one person. The cap fit so tight, a tool was needed to remove it. And, the "roof" is heavy, so when refilling, it was tough getting it in a position that didn't bend the support wire.
Three spacer blocks inside the top are the solution.
The "baffles" need to be improved. I have the design, but finding material (PVC tubes) with an OD that matches usual stock drill sizes is my problem. I'd rather not use "filler" adhesives.
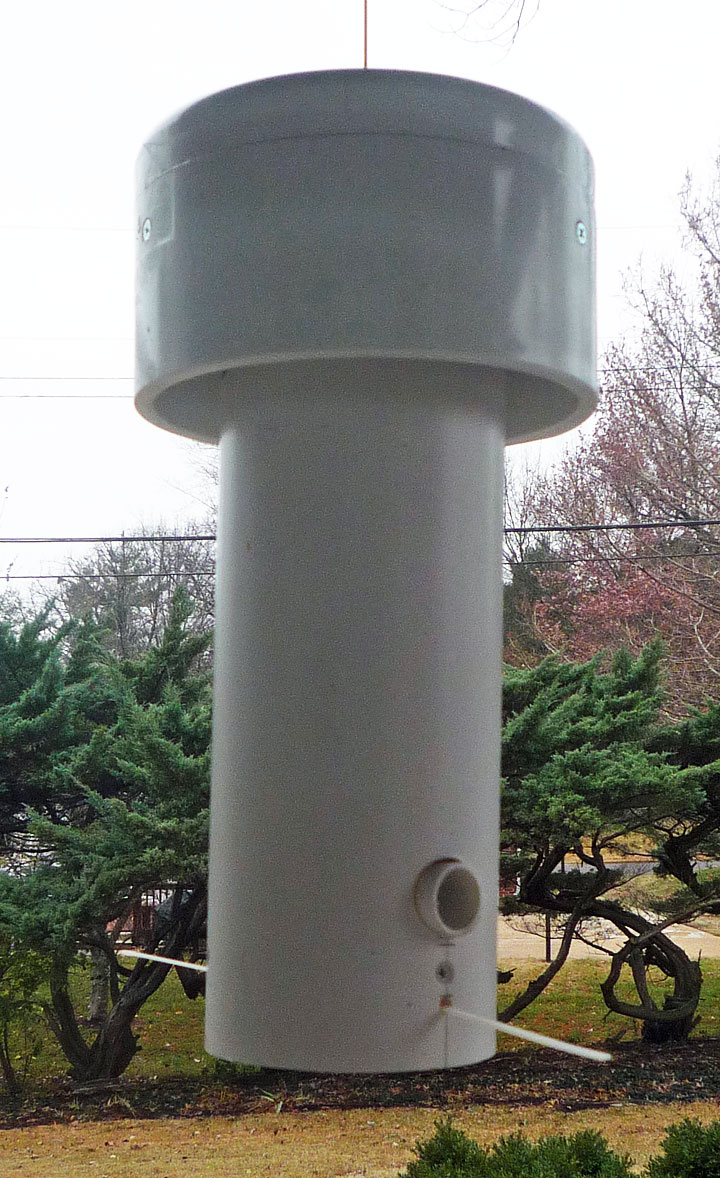
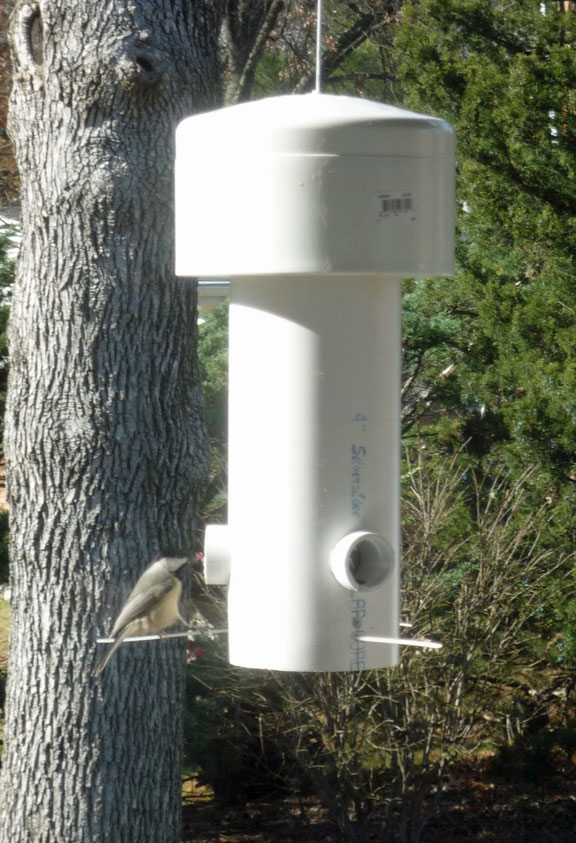
Here is Prototype #2:
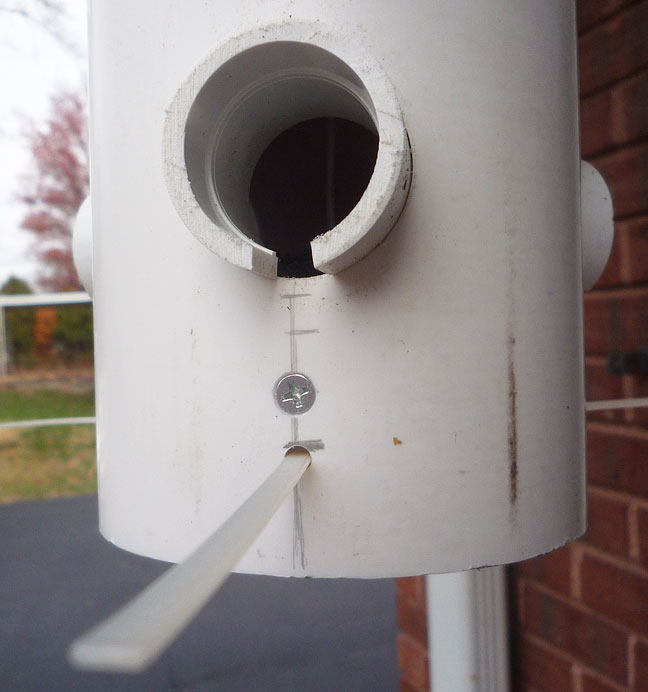
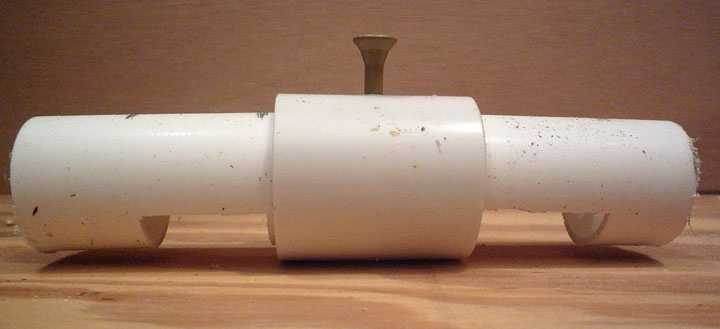
There are only two feeding stations in Prototype #2. The new baffles are made from Schedule 3/4 inch 30 PVC pipe (which is thinner wall than the Schedule 40) having an O.D. just shy of 1-1/8 inches. The two baffles are each about 2-1/2 inches long, joined inside the feed bin with a coupling. The coupling is drilled vertically for a 2-inch wood screw. The tightened screw is enough to deform the baffles, holding them in place.
The 3/4 inch pipe sections have a portion of their walls removed. The openings face down in the feeder, allowing birds access to the feed without spilling the seed.
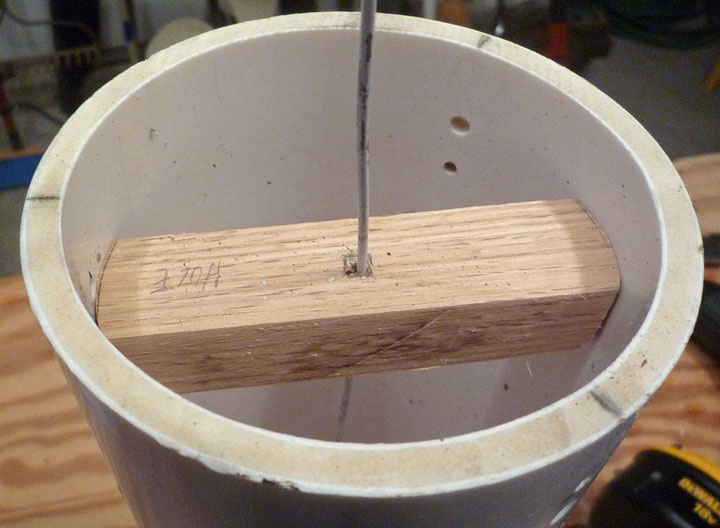
This arrangement required that the support wire termination be relocated higher in the feeder, so a hardwood crossmember was installed near the top of the feed bin.
It's about 5/8 inch wide x 5/8 inch deep (sanded to be curved on its ends) and held in place with two wood screws. Of course, it's been drilled to accept the hanging wire, and to center and terminate it. This is not a good design; it's too "fussy." I have an idea for Prototype #3. (Stay tuned.)
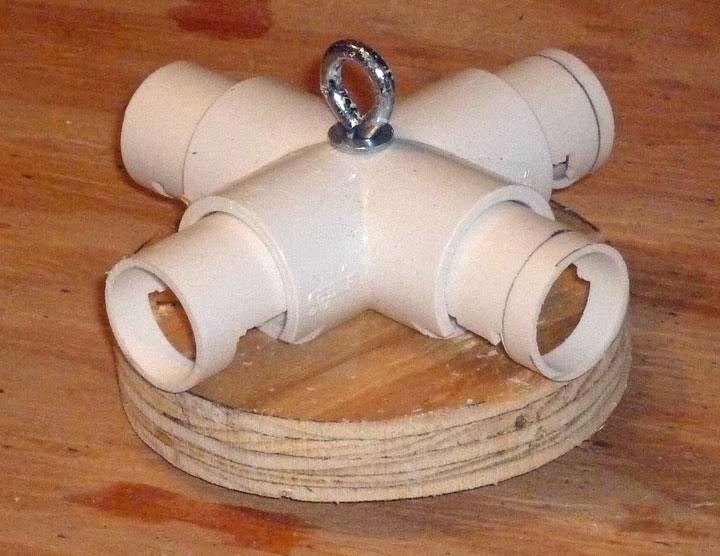
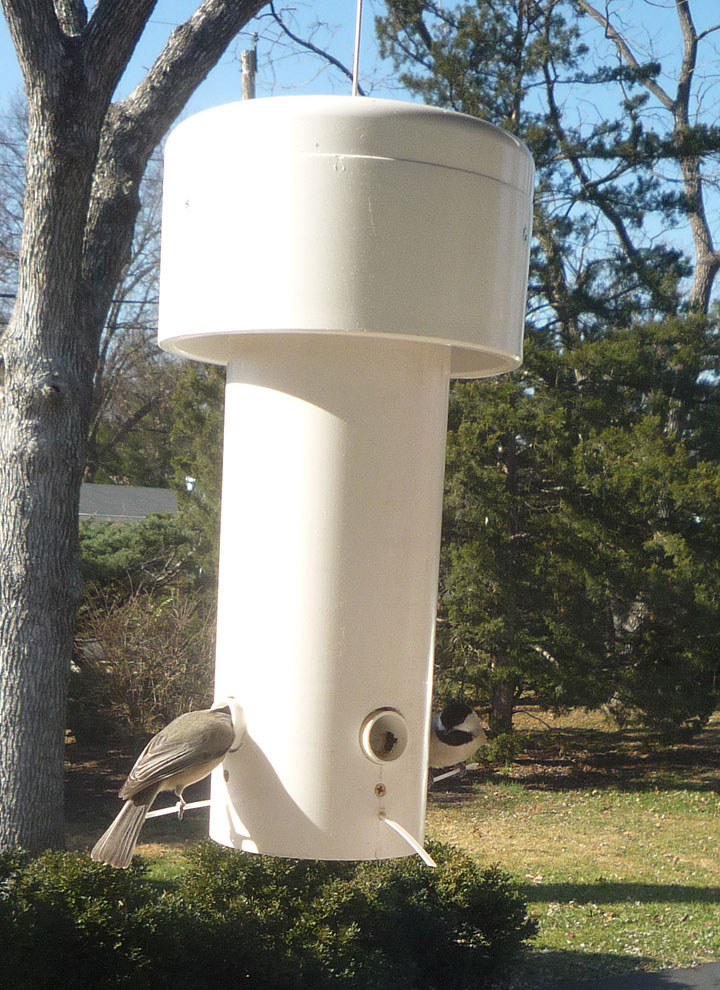
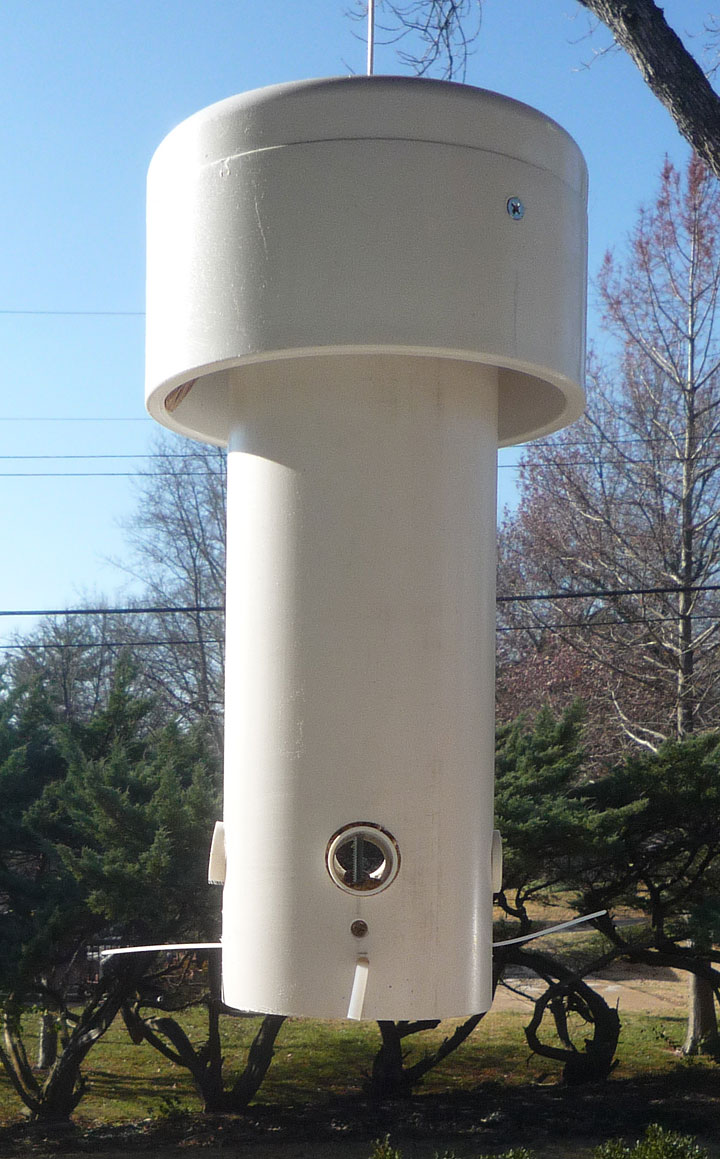
Prototype #3:
Now there are four feeding stations, and the hanger wire is terminated low in the feed bin, leaving the top part of the bin free of obstructions.
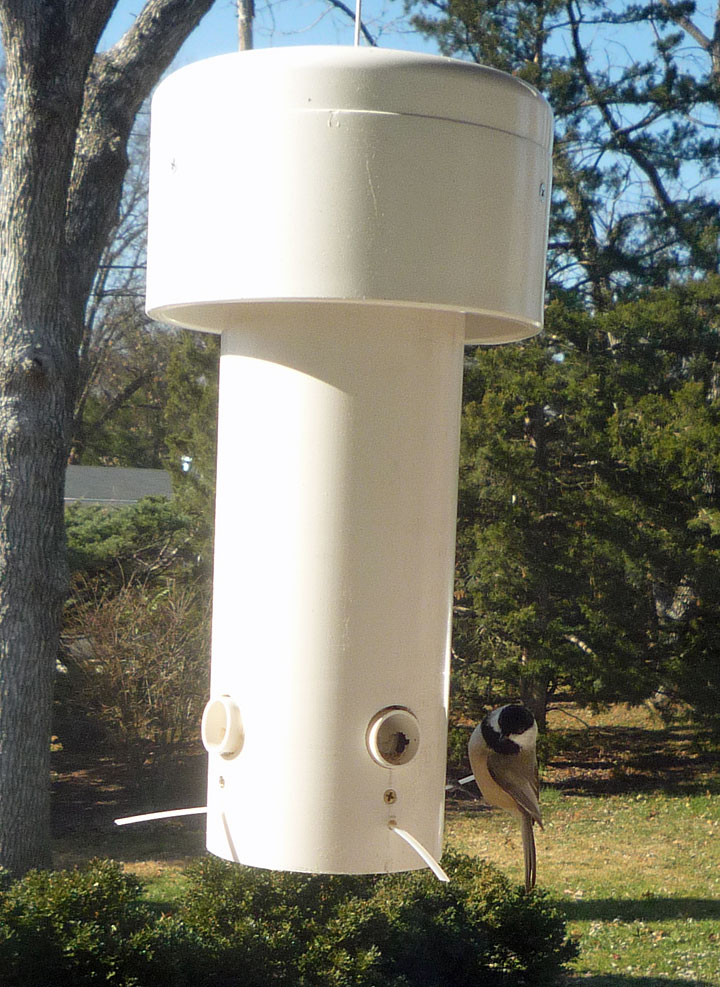
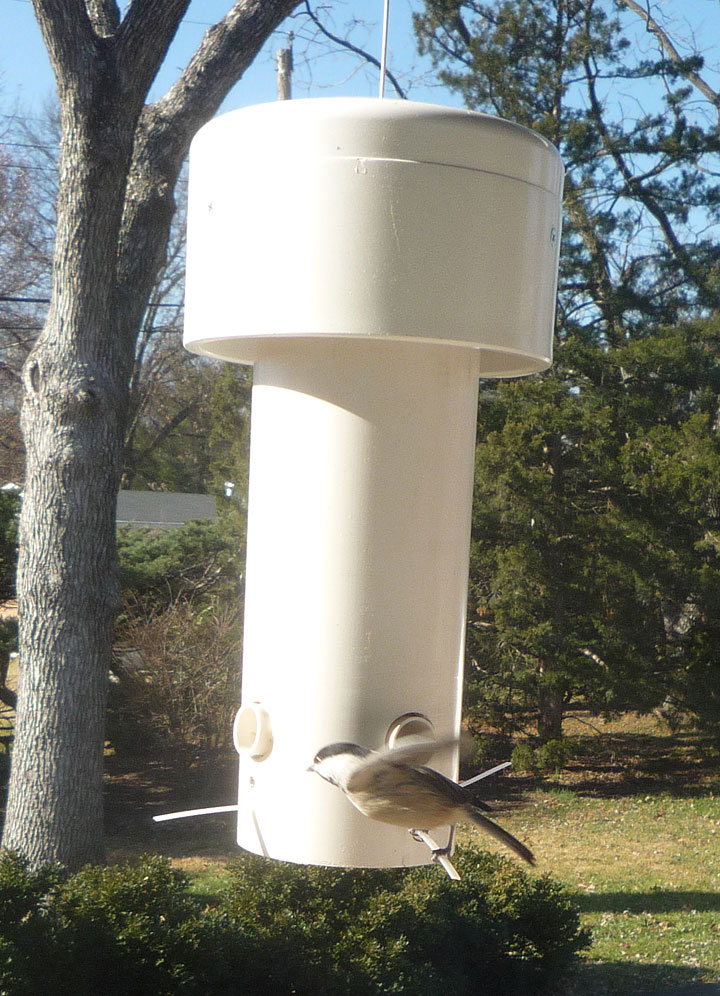
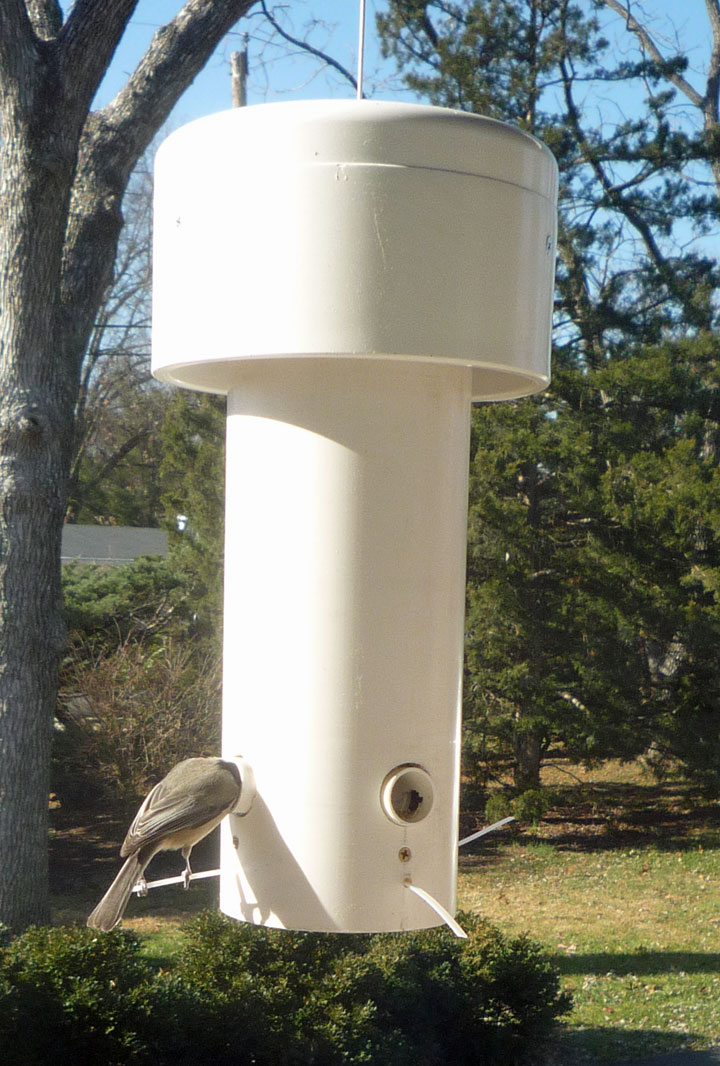
The five photos below show the final design in use. The birds seem to like being able to see through the feeding station openings, and put their heads far into them, to pick the feed of their choice. The feeder is easy to refill. The squirrels have not tested it much. One thing of concern; I'm wondering if cold weather with make the bird perches brittle, and easily broken by squirrels. We'll see. (Maybe perches should be easily replaceable. i.e., without use of a screwdriver.)